iPod Adapter (Drive+Play) |
 |
| TITLE |
+ |
- |
| FILE NAME |
+ |
- |
| DATE |
+ |
- |
| POSITION |
+ |
- |
|
|
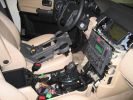
This is what it looks like under the center console at the beginning of my project.468 views
|
|
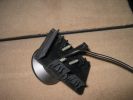
I used the Drive+Play screws supplied with the unit.370 views
|
|
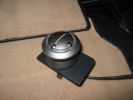
This is the controller unit that I attached to the emergency brake pop-out plate.386 views
|
|
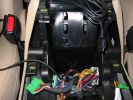
This is the hole that I drilled to get the iPod cable into the center storage area.467 viewsThe hole needed to be this large as both ends of the cable are large.
|
|
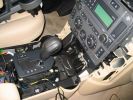
Removing the center console in preparation of installing the Drive+Play components.444 views
|
|
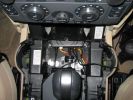
Here\'s a view of the Drive+Play "brain" which I mounted in the empty space in front of the gear selector.650 viewsI ran the power and audio cables to the rear of the center console in order to tap into the 12 volt power and "Aux" adapter. When you're sitting in the back seat, you don't see any cables whatsoever. My entire goal was to make it look as factory original as possible.
|
|
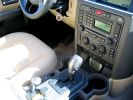
I have the screen lightly wedged between the rubber mat and the bottom of the ashtray567 viewsI plan to create a wooden block to attach the screen to and use foam tape (sticky on both sides) to hold it in. However, so far it hasn\'t moved and the ashtray is completely useable (for my parking meter quarters).
|
|

Daytime view of the Drive+Play unit.466 views
|
|

This is a night photo of the completed installation. The controller and screen brightness can be adjusted.500 views
|
|

This is where my iPod will live, unless I need to take it out to add songs or update playlists.492 viewsI installed a rubber grommit between the cable and the hole to keep it from rubbing on the sharp plastic.
|
|
|
|
|
|