| Search results - "Fog" |

Fog Light & Washer Jet Install93 views
|
|
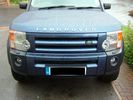
Fog Light & Washer Jet Install94 views
|
|
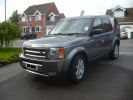
Disco 3 TDV6 GSLE75 viewsLimited Edition. Parking sensors front & rear, Full body skirts with chrome trim fog lights, Twin chrome tail pipes,
|
|
Misty fog Light9 views
|
|
led fog58 views
|
|
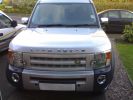
Chrome Fog Bezels48 views
|
|
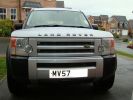
Before654 views
|
|
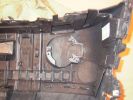
Back of bumper shows pre-fitted fog lamp brackets988 views
|
|
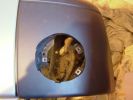
Just needs a file to neaten the edges878 views
|
|
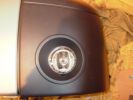
Fits like a glove!!847 views
|
|
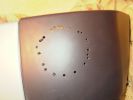
Drilled all round the marked pattern inside then used Dremel to cut out neatly813 views
|
|
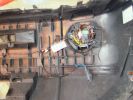
Pre-wired loom is an easy fit1047 views
|
|
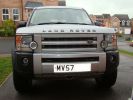
After889 views
|
|
osram fog/drl's72 views
|
|

Chrome fog light covers16 views
|
|
LED fog58 views
|
|
LED fog68 views
|
|
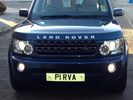
Thread upload57 viewsImage uploaded in new thread
|
|
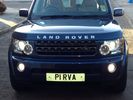
Thread upload53 viewsImage uploaded in thread 102519
|
|
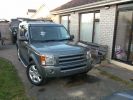
New front bumper with headlamp washers, fogs and PDC complete110 views
|
|
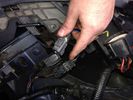
Thread upload48 viewsImage uploaded in thread 102519
|
|

Exterior Lighting (Fog Lamps - Non NAS)13 viewsWiring diagram for non-NAS fog lamps
|
|

8 views
|
|
FOGGY 916102 views
|
|

5 views
|
|
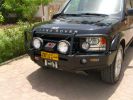
Front end327 viewsARB deluxe winch bar is very well made. Still allows Mantec sump guard to be used. Warn M8000 winch fitted - (wish I could\'ve found an M15000!) and IPF 900XS Extreme Series mounted with light stays to grille. Fog lights work fine with the replacement bumper, and indicators in bumpoer are effective too.
|
|
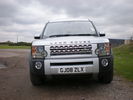
d/4 front grille conversion/ foglamps and chrome bezzells(courtesy of nismo)336 views
|
|
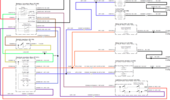
D3 Fogs22 views
|
|
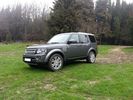
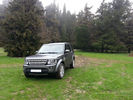
D4 woods Parnitha139 viewsOut on 01-03-2013 at Parnitha forest with a bit of fog and rain - pic 1.
|
|
D4 Woods Parnitha 243 viewsOut on 01-03-2013 at Parnitha forest with a bit of fog and rain - pic 2.
|
|
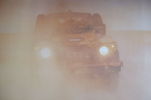
Defender in the Fog, another day on the job.459 viewsThis is another normal work day for a Defender - actually the jpg is from a Land Rover advertising shot, but it may just not be a set up one. I think it is an actual working Defender. Note the visible front tow hook and how the hi lift is just rope tied on; also the normal stock headlights and I guess dual spare tyres - just another day on the job.
|
|
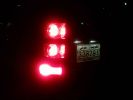
Spyder LEDs with fog lamps on168 views
|
|
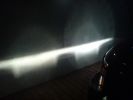
Right fog uses H9 bulb, note the difference between the H11 and H9 bulb253 views
|
|
Right fog uses H9 bulb, note the difference between the H11 and H9 bulb243 views
|
|
Right fog uses H9 bulb, note the difference between the H11 and H9 bulb227 views
|
|
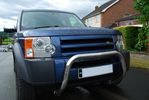
163 viewsWithout front fogs
|
|
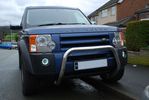
171 viewsWith front fogs and angel eye mod
|
|

Front Fog16 views
|
|

Front Fog212 views
|
|

204 views
|
|

Thread upload14 viewsImage uploaded in new thread
|
|
Thread upload14 viewsImage uploaded in new thread
|
|
Thread upload15 viewsImage uploaded in new thread
|
|
Thread upload16 viewsImage uploaded in new thread
|
|
Thread upload16 viewsImage uploaded in new thread
|
|
Thread upload17 viewsImage uploaded in new thread
|
|
Thread upload16 viewsImage uploaded in new thread
|
|
Thread upload16 viewsImage uploaded in new thread
|
|
Thread upload16 viewsImage uploaded in new thread
|
|
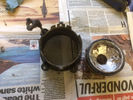
Thread upload16 viewsImage uploaded in new thread
|
|
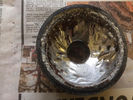
Thread upload16 viewsImage uploaded in new thread
|
|
Thread upload16 viewsImage uploaded in new thread
|
|
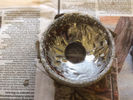
Thread upload17 viewsImage uploaded in new thread
|
|
Thread upload15 viewsImage uploaded in new thread
|
|
Thread upload16 viewsImage uploaded in new thread
|
|

Wiring Diagram Fog Lamps76 viewsR130 is the (R5 relay under the hood) The wire is blue grey that is hot when the high beams are on and opens the relay contact that turns off power to the fog lamps. North America Only
|
|
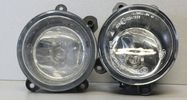
Thread upload5 viewsImage uploaded in new thread
|
|
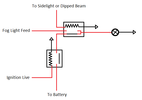
Thread upload17 viewsImage uploaded in thread 127724
|
|
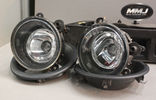
Thread upload8 viewsImage uploaded in new thread
|
|

Fogs & LEDs Wiring - Pic 183 views
|
|

Fogs & LEDs Wiring - Pic 265 views
|
|

Fogs & LEDs Wiring - Pic 363 views
|
|

Fogs & LEDs Wiring - Pic 458 views
|
|

Fogs & LEDs Wiring - Pic 558 views
|
|
Thread upload32 viewsImage uploaded in thread 102519
|
|
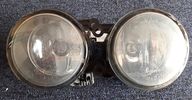
Thread upload4 viewsImage uploaded in new thread
|
|
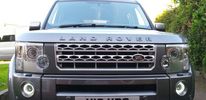
Thread upload18 viewsImage uploaded in new thread
|
|

spot the red light28 views
|
|
52 views
|
|

Zermatt Silver front bumper with fogs (includes steel bumper)8 views
|
|
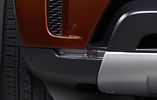
Thread upload20 viewsImage uploaded in thread 149931
|
|

Front fog113 views
|
|
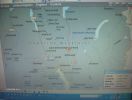
Bit foggy outside, so got out the Laptop to get a place fix139 views
|
|
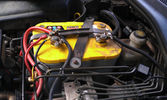
The auxiliary battery21 viewsThe auxiliary battery in the bay.
As the wiring diagram I made shows, there's a wire leading to the fuse box in the rear. (is going through the key-switch)
The second one is going to the fog lights. The smaller cables which should be connected to the head-lights, are connected to the battery.
The third one is going to the compressor (via a switch) (sits before the key-switch)
A fourth one is going to the CB and battery check display (sits before the key-switch)
|
|

Close up - key in place16 viewsThe key placed and turned in order to turn the switch on.
Everything connected to the fuse box in the rear and the fog lights on the roofrack will work now.
|
|
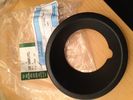
foglight bezzle16 views
|
|
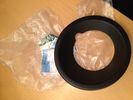
Foglight bezzle19 views
|
|
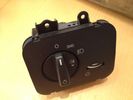
light switch, no front fogs19 views
|
|
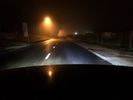
Led right hid left fog light 48 views
|
|
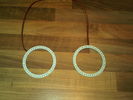
LED\'s for Front Fogs86 views
|
|
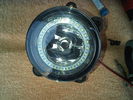
LED's Fitted to Fogs124 views
|
|
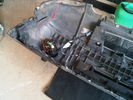
Rear of Fog Light119 views
|
|
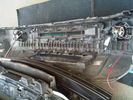
Rear View of Fogs116 views
|
|
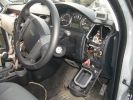
942 viewsFitting Nokia 810 car kit and fog light switch
|
|
77 views
|
|

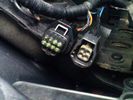
Fog light & PDC connector17 views
|
|
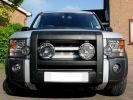
Front end - guards, A bar, spots and fogs415 views
|
|
Night and fog!113 views
|
|
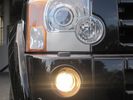
H11 foglight 85 views
|
|
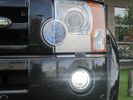
H11R bulb in foglight HIDS4U126 views
|
|
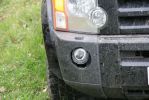
Right Fog Light Vs a Roe Deer118 views
|
|
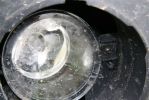
Right Fog Light Vs a Roe Deer100 views
|
|
Right Fog Light111 views
|
|
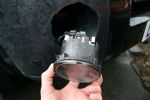
Right Fog Light138 views
|
|
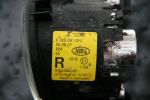
Part of of the Right Fog light106 views
|
|

OSRAM DLR/FOGLIGHT Installation Manual30 views
|
|

Thread upload13 viewsImage uploaded in new thread
|
|
![Filename=ledfog201-osram-led-fog-lamp-kit-[2]-1142858-p[ekm]60x44[ekm].jpg
Filesize=1KB
Dimensions=60x44
Date added=17.Jan 2018 ledfog201-osram-led-fog-lamp-kit-[2]-1142858-p[ekm]60x44[ekm].jpg](albums/userpics/33392/thumb_ledfog201-osram-led-fog-lamp-kit-%5B2%5D-1142858-p%5Bekm%5D60x44%5Bekm%5D.jpg)
Thread upload12 viewsImage uploaded in new thread
|
|
![Filename=ledfog201-osram-led-fog-lamp-kit-[3]-1142858-p[ekm]60x39[ekm].jpg
Filesize=1KB
Dimensions=60x39
Date added=17.Jan 2018 ledfog201-osram-led-fog-lamp-kit-[3]-1142858-p[ekm]60x39[ekm].jpg](albums/userpics/33392/thumb_ledfog201-osram-led-fog-lamp-kit-%5B3%5D-1142858-p%5Bekm%5D60x39%5Bekm%5D.jpg)
Thread upload11 viewsImage uploaded in new thread
|
|
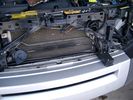
19mm wiring loom in trough behind bumper and in front of rad793 viewsThe 19mm wiring loom is large enough that a maximum of six 6mm air lines can be fished thru as required. The loom runs from the FASKIT panel located in the engine compartment behind the left front headlight, down and across in front of the rad and then down to the front axle valve block located behind and below the right fog light.
|
|
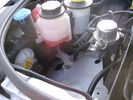
Empty space in NAS LR3 for location of FASKIT panel599 viewsThe empty space is available as the North America Spec gasoline engine LR3's do not have the Fuel Burning Heater installed. The air lines from the four air springs and the air tank will appear to rise up from under the headlight assembly. The lines to the front block valve assembly located behind the front right fog light will sort of run within the bumper across the front of the radiator down into behind the righthand fog light. The rear lines somewhat follow the path of the existing air feed line from the front valve assembly to compressor. Rather than be located between the left front fender liner and left metal wing however, the four lines will feed thru the empty wing space inside and above the wheel well arch and exit down by the left front mud flap. From there, the lines run along the left frame member above the air tank and then parallel the frame over top the compressor to the top of the rear left air spring where the rear air block valve assembly is located.
|
|
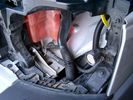
19 mm wire, (tubing), loom rising from below at left headlight657 viewsFrom the FASKIT panel, five air lines fit in the 3/4" (19mm) wiring loom and feed to the front air valve block located behind and under the right front fog light.
|
|
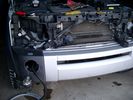
Wiring, (tubing), loom exiting temporarily from the front right fog light.569 viewsThe front axle air valve block is located just behind and below the fog light. Access to the valve block is by removing the right front fender liner, (or the bumper). The FASKIT lines are attached to the left and right front air spring lines at this location; also compressor air is taken from this location as well. Cutting the lines at as few different locations makes it easier to find leaks at a later date. As above, five 6mm air lines run from the FASKIT panel to the front axle air valve assembly and run within the loom. Two pair of the lines are for control of the air springs, and the fifth line taps the air supply at the valve block assembly off the compressor. This will be the air source line rather than tapping in directly to the high pressure air tank.
|
|
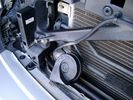
Wire (tubing) loom on right to down into bumper 465 viewsThis shows the 19mm loom in the trough between the bumper and the rad as it drops down into the right fog light area.
|
|
Thread upload0 viewsImage uploaded in thread 203550
|
|
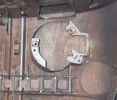
Reverse side of front bumper93 views
|
|
not fogg23 views I wish it was fog but its pollution
|
|
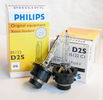
Philips D2S 85122 C1 Xenon 4300K projector HID bulb962 viewsThis is the 4300K OEM bulb in our HID Xenon projector headlights. People who design illumination systems regard the 4300K colour as a good compromise to provide what is called definition. This is effectively the ability to actually determine what an object being illuminated probably is. The more blue colour bulbs, say 5000K and greater, result in a reduction in the ability to distinguish detail, (regardless of brightness), of the object being illuminated. Effectively, you can see the object but you cannot quite figure out what it is. This is because the more blue frequencies means there are fewer other frequencies of light that allow our eyes to actually discern what an object really is.
The 4300K colour temperature applies to clear air conditions; for rain, dust, snow, fog, etc, then a yellow 2500K colour temperature is preferable. 2500K provides more contrast and there is less back splash of light off the air particles. In blowing snow, this means less sparkle back. Flat top cut off of the light beam, (which is the pattern our projector lights have), is important to reducing back splash - hence you do do not want roof mounted lighting for adverse conditions - as low down as possible is preferable, (which is why fog lights generally sit low.)
|
|
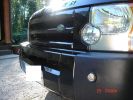
Fog lights installed411 views total costs were only 80 euros
|
|
Thread upload13 viewsImage uploaded in new thread
|
|
|
|
|
|