| Search results - "mounting" |
384 views
|
|
369 views
|
|
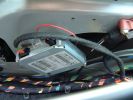
1 TMC - mounting TMC Module93 views
|
|
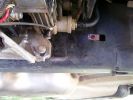
Repositioned compressor bracket738 viewsThe bracket was snapped in two, so I had it re-welded and slotted out the mounting holes so that it could be positioned 10mm higher (no longer protrudes under the chassis rail)
|
|
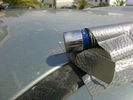
sophisticate ant-shake camera mounting3146 views
|
|
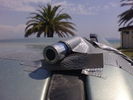
sophisticate ant-shake camera mounting2143 views
|
|
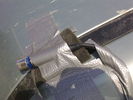
sophisticate ant-shake camera mounting1135 views
|
|

100 viewsCircuit breaker mounting location. Mounted with industrial velcro
|
|
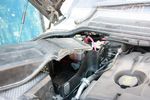
120 viewsModified aux battery box cover with shape of battery to battery cable. I also removed the tab which was fouling my traxide brain mounting bolts.
|
|
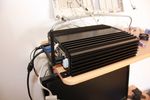
81 viewsCarPC closed and ready for mounting. Note the modification to the rear of the case to allow extra USB sockets attached to the motherboard pins.
|
|
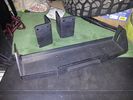
Hidden winch mounting plate discovery 3 4 RRS Mudtech4x4.com120 views
|
|
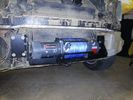
Hidden winch mounting plate discovery 3 4 RRS Mudtech4x4.com187 views
|
|
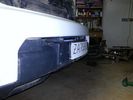
Hidden winch mounting plate discovery 3 4 RRS Mudtech4x4.com181 views
|
|
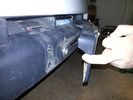
Hidden winch mounting plate discovery 3 4 RRS Mudtech4x4.com199 views
|
|
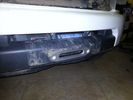
Hidden winch mounting plate discovery 3 4 RRS Mudtech4x4.com191 views
|
|
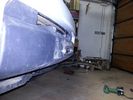
Hidden winch mounting plate discovery 3 4 RRS Mudtech4x4.com168 views
|
|
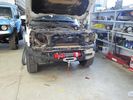
Hidden winch 12000 Disco 4154 viewsHidden winch mounting on a Discovery 4 3.0 TDV6 using Mudtech4x4 plate and 12000xc dual speed ALANWINCH
|
|
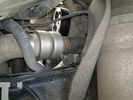
Charge Air Inlet hose - front mounting bkt86 views
|
|
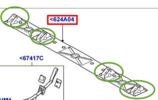
Thread upload24 viewsImage uploaded in thread 138841
|
|
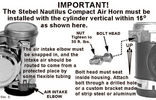
35horn61 views
|
|
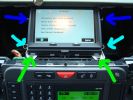
7 Dash SCREEN82 views
|
|

abar mounting plates - revision A170 views
|
|
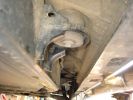
drill 1 hole for rear mounting 145 views
|
|
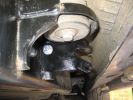
home made bracket for rear mounting147 views
|
|

battery mounting and cables50 views
|
|

Mounting brackets attached51 views
|
|
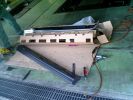
sidestep87 viewsmounting the sidestep
|
|
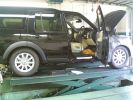
89 views
|
|
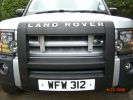
Brackets fitted to underside of A bar using mounting bracket holes.253 views
|
|
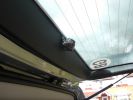
High level camera mounting on inside of tailgate trim53 views
|
|
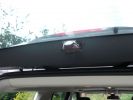
Rev Cam Mounting46 views
|
|
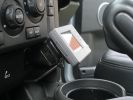
Dash Mounting from passenger side44 views
|
|
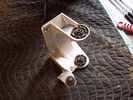
Air Compressor mounting bracket new907 viewsFound this jpg on a forum - thought it was good and is what one breaks when one jacks on the plastic air compressor cover.
|
|
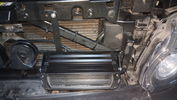
Lamp mounting details129 views
|
|
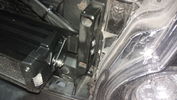
Lamp mounting details137 viewsTwo holes have to be drilled into the frame to fasten the brackets
|
|
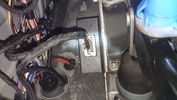
Electronic Relay156 viewsRelay mounted to mounting frame of the brake pedal
|
|

71 views
|
|
Thread upload4 viewsImage uploaded in new thread
|
|
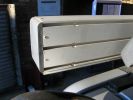
Awning183 viewsMounting slots for awning
|
|
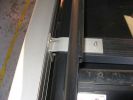
Awning158 viewsMounting bracket
|
|
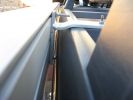
Awning184 viewsSide view of mounting bracket, made of 6mm x 50mm ali flat bar.
|
|
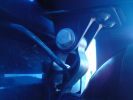
spot light mounting bracket150 views
|
|
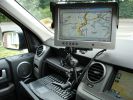
Solo screen mount490 viewsNote that the mounting bracket doubles as a screen mask
Mount is Manfrotto \'super clamp\' & arm
|
|
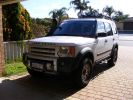
425 viewsRemoved the ARB bull-bar and refitted the original front bib (but now with two additional recovery points fitted to the modified ARB mounting brackets).
|
|
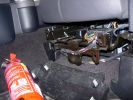
Mounting a non-LR fire extinguisher535 viewsShowing the plastic cover removed. I will make up a metal plate or bar so that the extinguisher frame can be mounted directly to this framework under the seat.
|
|
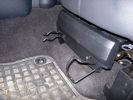
Mounting a non-LR fire extinguisher426 views
|
|
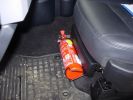
Mounting a non-LR fire extinguisher410 viewsSimply fixed it to the plastic cover for now, but will remove cover and mount further back later - just need to make up a metal plate first.
|
|
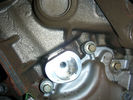
Front Belt Tensioner Mounting118 viewsCam Belt replacement Front
|
|
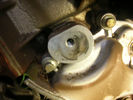
Front Belt Tensioner Mounting103 viewsCam Belt Tensioner
|
|
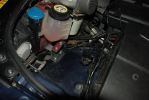
145 viewsbracket installed into existing mounting holes for coolant reservoir
|
|

81 views
|
|
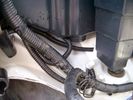
Front Coupler pad to right front under air filter housing 156 viewsThe brighter white "square" behind the black air cleaner drain is the Coupler Pad location I chose for the right front corner. The 1/4", (5mm), black wiring loom carries a single blue colour conductor between the power supply and pad.
A second coupler pad, (white conductor), is located near the left rear tail light. The mounting location is accessible from the rear compartment access "door" where the trailer hitch wiring attaches to the factory loom.
|
|
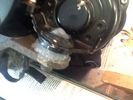
Revised Mounting28 views
|
|
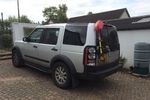
Mounting shovel on rear.21 views
|
|

Mounting shovel on rear.29 views
|
|
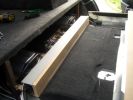
1492 viewsComputer and sub bass mounting board pusshed back into place
|
|
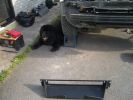
1555 viewsThis is a shot of the Hidden winch mounting, The dog is holding the car Up !!
|
|
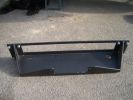
1519 viewsHere is a close up shot of the winch mounting bracket
|
|
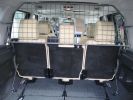
Paddock dog guard view from rear285 viewsInstalled; can see the mounting points
|
|
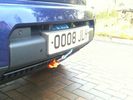
Redg plate mounting127 viewsThe original redg plate mounting was modified. An L-shaped piece of plastic now sticks out rearward from the top of the mounting and this hooks over the back of the top edge of the bumper cover. Then 2 spring clips hold the bottom edge of the mounting in place. Proximity sensor and surround camera seen unaffected.
|
|
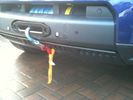
Recessed Hawse 144 viewsI had the hawse powder coated black which was not necessary in the end as it is normally hidden behind the number plate. The cutout of the hole in the bumper cover could have been a bit tidier, but again, it is usually hidden when winch not in use. Note the two clip receivers which hold redg plate mounting in situe.
|
|
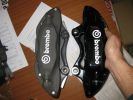
Brembos - FFRR vs RRS 01131 viewsHaving acquired the wrong calipers and discs initially, I purchased the correct RRS kit from TLO. Useful picture - the light grey calipers show that the FFRR has a smaller offset mounting point and smaller diameter threaded holes. The glossy calipers are for RRS and fit D3 perfectly with correct offset and M15 mounting holes.
|
|

ipod mounting224 views
|
|

Thread upload19 viewsImage uploaded in new thread
|
|

Thread upload7 viewsImage uploaded in thread 175095
|
|

LA501-016 - Technical Bulletin - Tailgate Support Mounting84 views
|
|
Thread upload3 viewsImage uploaded in new thread
|
|
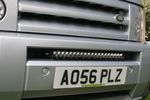
Thread upload10 viewsImage uploaded in new thread
|
|

Wheel cut thru definitions and specs898 viewsNote the location of REAR SPACING and also OFFSET; probably two of the most important dimensions and not always understood as related to wheel size and relationship to the brake components.
For the 3, Rear Spacing is approximately 6.5 inches or 165 mm for a nominal 8" rim. Offset is 53P or 53mm Positive, which means the distance from the machined hub flat mounting surface to the rim's true centreline is 53 mm in the outboard direction. (The rim illustrated has a negative offset.)
As Positive offset increases, this means the wheel wraps around the disc brake mechanism more deeply, and hence the more the wheel would cover the brake parts. This is why most 18" wheels will not fit with the larger Brembo "supercharged engine" brake calipers.
Pitch circle diameter is 120mm; Pattern is 5 lug, and the tyre load rating is 112 with a recommended tyre speed rating of H or higher along with the XL load rating. For the 3, the stock tyre diameter is about 30 inches. The 255/60/18 or 255/55/19 OEM tyre outside diameter is 30.04 inches; Wheel lug torque is from 130 to 150 Nm or 96 to 110 lbf-ft and the lug nut hex socket size is 22mm.
Max Load High Speed Driving Tyre pressures are Front, 33 psig, (230 Kpa) and Rear, 42 psig, (290 Kpa).
The OEM rims are rated at 940 kgs, the highest that LR makes, hence while rims from other Land Rover products may physically fit, the odds are they are under rated in a weight sense.
|
|

428 views
|
|
362 views
|
|
83 views
|
|

Crop from LR Driving Liight fitting instructions showing Nudge Bar bracket410 views
|
|
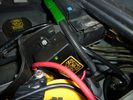
Traxide SC80-LR mounted598 viewsA close up showing the angle, mounting bolt. Only a single top bolt can be used, there are metal lines behind the lower bolt hole.
|
|

Mounting the chains522 views
|
|
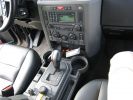
256 viewsAlmost completed install. Just the controllers need mounting.
|
|
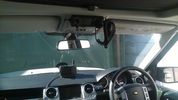
Thread upload4 viewsImage uploaded in thread 126635
|
|
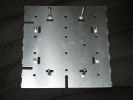
Sosen A9 Roof mounting plate183 views
|
|
Thread upload6 viewsImage uploaded in thread 173593
|
|
test mounting nas35 views
|
|
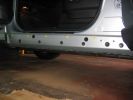
Front N/S Upper Mounting Holes172 views
|
|
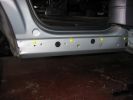
Rear O/S Mounting Holes161 views
|
|
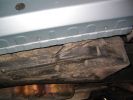
Rear N/S Lower Mounting Holes161 views
|
|

tow bar winch43 views
|
|
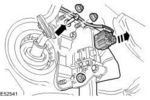
Thread upload13 viewsImage uploaded in thread 184931
|
|
|
|
|
|
|