HD Radio / XM Radio Install |
 |
| TITLE |
+ |
- |
| FILE NAME |
+ |
- |
| DATE |
+ |
- |
| POSITION |
+ |
- |
|
|
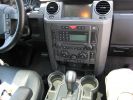
210 viewsThe start. Yes, the cupholders are dirty... get over it!
|
|
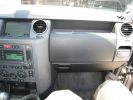
213 viewsThe start. I plan to place all the electronics into the lower glove box.
|
|
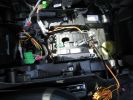
218 viewsAnother shot of the floor console.
|
|
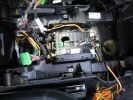
216 viewsThe inner workings of the floor console. You can see the inline fuse holder on the left, which then connects to the chill box connector.
|
|
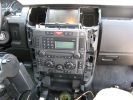
231 viewsConsole Trim Removed, as well as the top of the floor console.
|
|
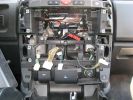
260 viewsPicture of the center console minus IHU and Climate Control. Turns out there is very little room behind there, which is really a pain in the ass.
|
|
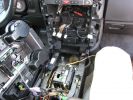
245 viewsProceeding with console removal.
|
|
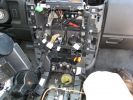
249 viewsProceeding with the console removal.
|
|
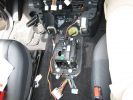
286 viewsPicture of the floor console removed. The wiring moving along from the bottom of the picture forward is power from the rear power socket, and audio from the aux port.
|
|
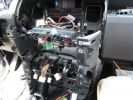
277 viewsHere is the center console with the support pulled away. You can see the wiring for the HD and XM radios working their way through the console and over to the lower glove box.
|
|
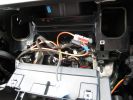
278 viewsClose up of the cavity for the Nav screen. Here you can see the XM Satellite receiver antenna cable snaking across. It\'s the thin wire not bundled to anything. In the lower corner you can also see the power cable going to the glove box.
|
|
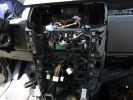
277 viewsA mess of cables. You can see the HD Radio antenna adapter coming out into the slot for the IHU. You can also see, if you look very closely, the original diversity antenna connector plugged into another adapter to go down to the HD radio unit.
|
|
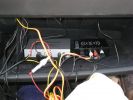
247 viewsThe two installed modules with preliminary wiring for testing.
|
|
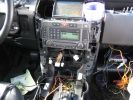
256 viewsSystem testing. Nothing caught fire, which is a success in my book! Just know that the rover gets very angry when all of those control panels are disconnected.
|
|
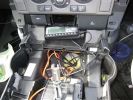
254 viewsThe console mostly re-assembled. You can see the dremel notch I made for the control cables, as well as the slack in the power and audio cables.
|
|
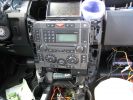
329 viewsInstallation slowly proceeding. You can see the controller cables inserted into the notch I made with a dremel.
|
|
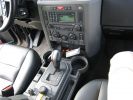
255 viewsAlmost completed install. Just the controllers need mounting.
|
|
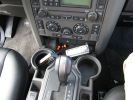
246 viewsAlmost done. All the trim is in, but the controllers are not yet mounted.
|
|
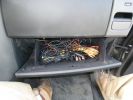
292 viewsThe rats nest of cabling that needs to be tamed.
|
|
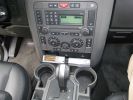
256 viewsCompleted install with both receivers working.
|
|
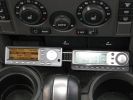
352 viewsCompleted install, again with aluminum bar and 3M velcro.
|
|
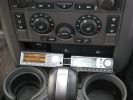
301 viewsCompleted install. I used a bar of aluminum bar with 3M industrial velcro to hold the controllers.
|
|
|
|
|
|